
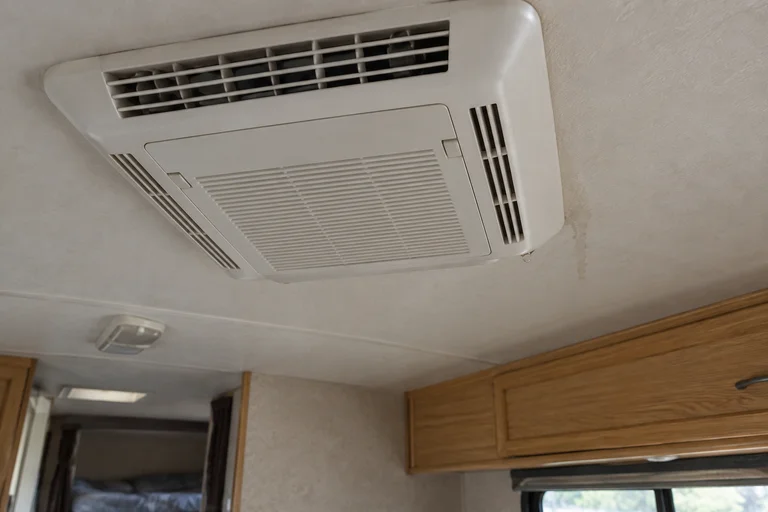
A drop lands on the floor beneath the ceiling air conditioner. Then another. The RV still feels cool, so it is tempting to keep the unit running and put a towel underneath. But cooling performance and water handling are separate questions. A unit can cool while water takes the wrong route.
Start by recording when the drip happens: during rain, after cooling has run for a while, or shortly after shutdown. That timing helps choose the next inspection. It doesn't identify a failed part by itself.
Stop the water exposure first
Turn cooling off using a dry, safely accessible control. Keep away from wet switches, lights, outlets, and electrical equipment. If water is entering an electrical area or you cannot operate controls safely, keep people clear and get professional help. Do not remove the ceiling assembly to catch water or reach into the unit.
Move belongings out of the drip area if safe. Photograph the first wet spot and any staining. A swollen ceiling, persistent dripping, or spreading moisture warrants prompt inspection even after cooling is stopped. Water already in the assembly can continue draining.
If it happens during rain with the AC off
Rain entering while the air conditioner has been off points the inspection toward a weather-entry path. The roof opening, mounting system, seals, and nearby roof details deserve attention. The place water emerges inside isn't necessarily the place it entered outside.
Tell the technician whether the drip also occurs in dry weather. Don't assume a new roof gasket is the answer simply because the water appears at the grille. Avoid applying sealant around the unit or tightening mounting bolts by feel. The installation has drainage paths and model-specific fastening requirements.
Dometic's Ibis maintenance guidance treats roof seals, drainage channels, and fastening checks as distinct items. Its instructions apply to that product; they aren't a universal torque specification or permission to climb onto any RV roof.
If it starts after a period of cooling
Cooling removes moisture from indoor air. That water needs to leave through the unit's designed drainage system. Dometic's Ibis guidance specifically calls for keeping its condensation channels clear. Other installations use different arrangements, so identify the equipment before deciding where a drain should be.
A restricted path is one possibility, but don't reduce every indoor drip to a clogged hole. Dometic's Blizzard NXT water-intrusion bulletin links interior water intrusion to airflow restrictions, static pressure, and installation problems on that system. It illustrates why drainage and airflow sometimes need to be investigated together.
Drilling a new drain, plugging an existing opening, or pushing a tool into an unidentified passage risks making the problem worse. Roof access, shroud removal, drain inspection, and installation corrections belong with a technician who can work safely and use the correct documentation.
If airflow faded before the drip appeared
That sequence makes icing worth investigating. A cooling coil that develops ice can restrict airflow; melting water can become noticeable as the ice thaws. A drip after shutdown is consistent with that sequence, but it doesn't prove ice was present.
Coleman-Mach's owner FAQs identify several freeze-up contributors, including dirty filters, airflow problems, and operating conditions. Ice alone doesn't establish a refrigerant problem. Repeatedly restarting cooling without resolving the cause only repeats the cycle.
Don't chip ice, use a heat gun, or open a wet assembly. Defrost instructions vary, and a general fan-only recommendation is inappropriate when water may have reached electrical components. Leave the leaking unit off until the next safe step is established.
Useful owner checks stay inside normal maintenance access
With the unit off and the area dry, inspect only the owner-accessible filter according to the exact manual. Clean or replace it using the specified method, let a washable filter dry fully, and reinstall it before operation. Stop if access exposes wiring or requires removing service covers.
Observe whether return-air openings are blocked and whether supply vents have been closed or covered. Record the fan setting, whether airflow weakened, the weather, and how long cooling ran before the drip began. There is no universal number of minutes that identifies a blocked drain.
For an AC that primarily loses cooling rather than leaking indoors, our RV air conditioner cooling guide follows that broader diagnosis. Include both symptoms if they occur together.
What a complete repair should establish
The technician should identify the water source, its route into the RV, and the condition causing that route. Depending on the evidence, that means checking weather sealing, condensate handling, airflow, installation, or the reason a coil freezes. Simply drying the grille doesn't answer those questions.
Ask that any wet interior material be assessed as well. A stopped drip isn't proof that the ceiling cavity is dry. Mention recent AC installation, roof work, filter changes, or a change in operating behavior, without assuming the most recent work caused it.
Can I tilt the RV to send the water elsewhere?
Don't use a guessed tilt as a repair. Follow the RV and air-conditioner installation requirements. Changing the parking angle may change where water appears while leaving the underlying fault in place. A unit that only stays dry at one unusual angle still needs diagnosis.
For mobile RV air-conditioner service, send the model, where water first appears, whether it rains during the leak, and any airflow change. Request service with those observations and your location so the inspection starts with the right water path.